
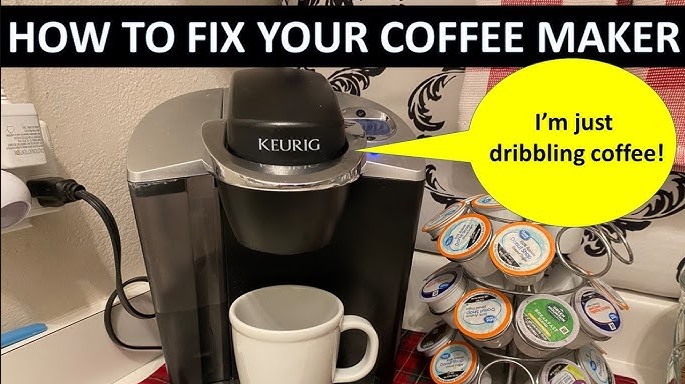
If your Keurig iced coffee maker is not working, don’t panic. Most common issues stem from mineral buildup, clogged needles, or simple power connectivity errors that you can fix in minutes. Follow this guide to troubleshoot your machine and get back to enjoying your favorite chilled brew.
There is nothing quite like the convenience of a Keurig iced coffee maker on a busy morning. You wake up, pop in a pod, and within seconds, you have a chilled drink waiting for you. But what happens when you press the brew button and nothing happens?
It is frustrating, especially when you have a long day ahead. If you find your Keurig iced coffee maker not working, you are certainly not alone. Thousands of users face these minor technical hiccups every year.
The good news is that most issues with these machines are easy to resolve at home. In 2026, Keurig machines remain some of the most reliable kitchen appliances, but even the best tech requires a little love and maintenance. Whether it is a flashing light, a loud noise, or a total lack of water flow, this guide will walk you through the diagnostic process. Let us get your coffee station back in business.
Key Takeaways
- Regular Descaling: Mineral buildup is the leading cause of Keurig malfunctions; descale your machine every three to six months.
- Needle Maintenance: Clogged exit or entrance needles often prevent water from flowing through the K-Cup pod correctly.
- Power Cycling: Always try a hard reset by unplugging your machine for 30 minutes before attempting complex repairs.
- Water Quality: Using filtered water prevents scale and ensures your iced coffee tastes crisp and clean.
- Alignment Matters: Ensure the K-Cup holder is properly seated to allow the needles to puncture the pod without obstruction.
Understanding Why Your Keurig Iced Coffee Maker Is Not Working
When your Keurig iced coffee maker is not working, it is usually because the machine is trying to protect itself. Modern brewers are equipped with sensors that detect blockages or heating failures. When these sensors trigger, the machine will stop brewing to prevent internal damage. Understanding the root cause is the first step toward a quick fix.
The Power Connection Check
Sometimes, the problem is not internal at all. If the lights are not turning on, check your power supply first. Ensure the plug is pushed firmly into the outlet. If you are using a power strip or a surge protector, try plugging the Keurig directly into the wall outlet. Appliances like coffee makers draw significant power during the heating cycle and might trip a low-quality surge protector.
The Importance of Resetting the System
Computers run the show inside your coffee maker. Just like a smartphone, these systems can experience temporary glitches. If your Keurig iced coffee maker is not working, a hard reset is your best friend.
Unplug the unit from the power source for at least 30 minutes. This allows the internal capacitors to discharge fully. When you plug it back in, the system will perform a fresh boot sequence, which often resolves software-related brewing errors.
Addressing Water Flow and Clogging Issues
The most common reason for a failing Keurig is a lack of water flow. If the machine hums but no liquid comes out, you likely have a clog. This is very common in areas with hard water, where mineral deposits build up over time.
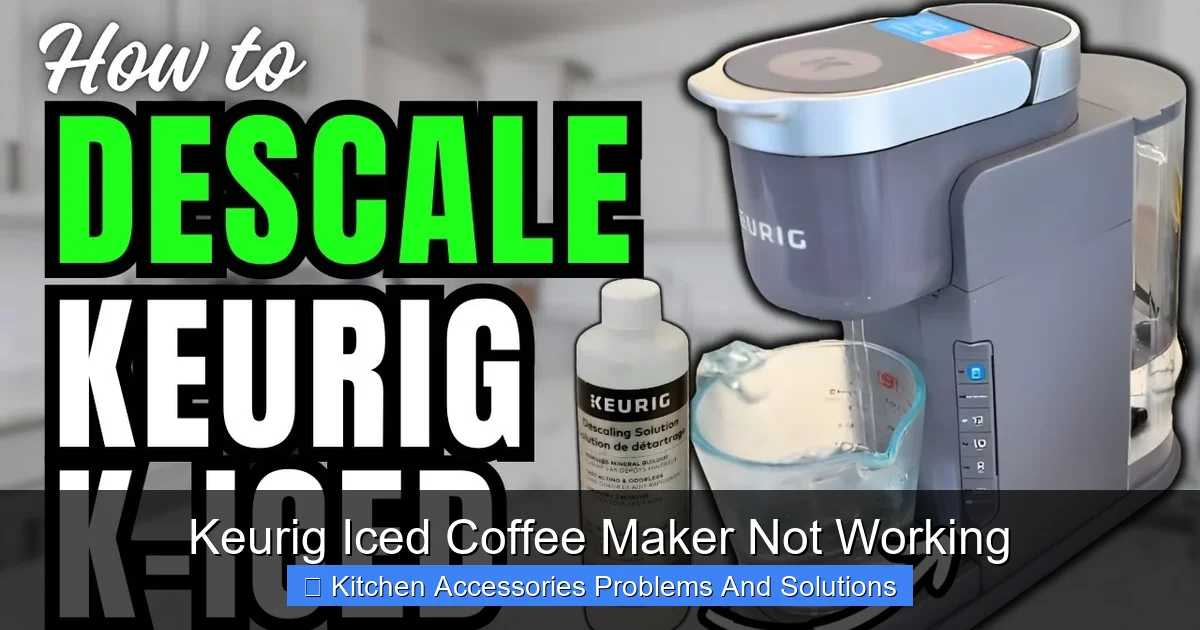
Visual guide about Keurig Iced Coffee Maker Not Working
Image source: i.ytimg.com
Clearing the Entrance and Exit Needles
The needles are the sharp components that puncture your coffee pod. The entrance needle is on top, and the exit needle is on the bottom. Over time, coffee grounds can get trapped in these needles. You can use a paperclip to gently clear any debris from the needle holes. Always be careful, as these needles are very sharp. Once cleared, run a brew cycle without a pod to flush out any lingering particles.
Descaling Your Machine for Optimal Performance
Descaling is the process of removing calcium and lime deposits. If your coffee is coming out lukewarm or the stream is weak, your machine is begging for a descale. You can use a dedicated Keurig descaling solution or a mixture of white vinegar and water.
Fill the reservoir, run the brew cycle until the tank is empty, and then run two or three cycles with fresh water to remove any lingering vinegar taste. Doing this every three months will keep your Keurig iced coffee maker working perfectly.
Troubleshooting Common Light Indicators
If your Keurig displays flashing lights, the machine is trying to tell you something. Do not ignore these signals. Most user manuals define specific patterns, but there are universal signs for common issues.
Flashing Add Water Light
If the “Add Water” light flashes even when the tank is full, it is likely a sensor error. First, check that the water reservoir is seated correctly on the base. If it is loose, the machine cannot detect the water. Sometimes, a small air bubble can get trapped in the intake valve. Try removing the reservoir and firmly placing it back down several times to dislodge the air.
The Heating Element Error
If the lights are blinking in a specific sequence, it might indicate that the heating element is failing. If the water never reaches the required temperature, the machine will refuse to brew. Ensure that the water you are putting into the reservoir is at room temperature. If the machine still fails to heat, it may be time to contact customer support, as internal heating components are difficult to repair at home.
Maintaining the Water Reservoir and Filter
Many people overlook the water reservoir, but it is a critical part of the brewing process. If the connection between the reservoir and the machine is compromised, the pump will not be able to draw water correctly.
Cleaning the Reservoir Base
Check the bottom of your water reservoir. There is a small valve that allows water to flow into the machine. If this valve becomes clogged with sediment, the pump will struggle. Rinse the reservoir with warm, soapy water and use a soft brush to clean the intake area. Make sure it is completely dry before reattaching it to the unit.
Water Filter Maintenance
If you use a charcoal water filter, it needs to be replaced every two months. An old, saturated filter can actually restrict water flow. If your Keurig iced coffee maker is not working properly, remove the filter and try brewing a cup without it. If the water flows normally, you know it is time to grab a new filter cartridge.
Advanced Tips for Long-Term Reliability
Prevention is always better than cure. By adopting a few simple habits in 2026, you can extend the life of your brewer by several years.
Use Only Keurig-Compatible Pods
While third-party pods are cheaper, they are sometimes improperly sized or sealed. If a pod is slightly too tall or the foil is too thick, it can damage the needles or cause pressure issues within the brew head. Stick to branded or high-quality pods to ensure consistent performance.
The “Fresh Flush” Technique
Make it a habit to run a quick water-only brew before your first cup of coffee each morning. This “flushes” the lines, warms up the internal components, and ensures the needles are clear. It only takes thirty seconds and significantly reduces the risk of clogging.
Conclusion
Having your Keurig iced coffee maker not working is a temporary setback, not a permanent end to your coffee routine. By following these steps checking the power, cleaning the needles, descaling regularly, and monitoring the water reservoir you can resolve 95% of common brewer issues. Remember that these machines are built to last with proper care.
If you have tried all the steps mentioned above and your machine still refuses to cooperate, it might be time to check your warranty status or reach out to the manufacturer for professional assistance. However, for most of you, a little bit of maintenance today will mean a perfect iced coffee tomorrow. Happy brewing!
Frequently Asked Questions
Why is my Keurig iced coffee maker blinking?
A blinking light usually indicates a communication error, a clog, or a water level sensor issue. Try resetting the machine by unplugging it for 30 minutes, and ensure your water reservoir is firmly locked into place.
How often should I descale my coffee maker?
You should descale your Keurig every three to six months to prevent mineral buildup. If you live in an area with hard water, you may need to perform this process more frequently.
Can I use vinegar to clean my Keurig?
Yes, white vinegar is an effective and natural way to descale your machine. Just be sure to run several rinse cycles with plain water afterward to eliminate any lingering vinegar scent or taste.
What should I do if the needle is clogged?
Gently use a straightened paperclip to clear out the entrance and exit needles. Be very careful during this process, as the needles are sharp and can easily scratch your fingers if you aren’t paying attention.
Why is my coffee lukewarm?
Lukewarm coffee is often a sign of mineral buildup inside the heating element or the lines. Descaling the machine usually solves this problem by allowing the water to heat up to the proper temperature more efficiently.
Should I use filtered water in my Keurig?
Using filtered water is highly recommended. It not only improves the taste of your coffee but also significantly reduces the amount of mineral deposits that accumulate in the machine, helping it last much longer.