
If your Keurig single serve coffee maker not working properly, don’t worry. Most common issues stem from mineral buildup, sensor errors, or simple connectivity glitches that you can resolve at home. Follow this guide to get your morning brew back on track quickly and efficiently.
There is nothing quite as frustrating as waking up on a busy Tuesday morning, stumbling into the kitchen, and realizing your Keurig single serve coffee maker not working as expected. You press the button, the machine hums, but your cup remains empty. Whether you are dealing with a machine that refuses to turn on, a brewer that won’t dispense water, or those pesky error lights that seem to flash for no reason, you are not alone.
By 2026, Keurig machines have become more sophisticated, featuring smarter sensors and advanced energy-saving modes. While these features make life easier, they also provide more points of failure. The good news is that most issues are minor. With a few simple tools and a little bit of patience, you can often fix your Keurig without needing a professional repair service or a costly replacement.
Key Takeaways
- Regular Descaling: Mineral deposits are the #1 cause of brewing failure in 2026 model Keurigs.
- Needle Maintenance: Clogged exit and entrance needles often prevent water flow and cause “Add Water” errors.
- Power Cycling: Many software glitches are solved by performing a hard reset by unplugging the unit for 30 minutes.
- Water Quality: Using filtered water significantly extends the lifespan of your machine and improves taste.
- Sensor Awareness: Keeping the water reservoir and internal sensors clean ensures the machine detects water levels accurately.
Understanding Why Your Keurig Is Acting Up
When you find your Keurig single serve coffee maker not working, the first step is to stay calm and observe the machine. Is it making a strange noise? Is there a light flashing? Is the display totally blank? Most problems are related to one of three areas: power, water flow, or sensor miscommunication.
Power and Connection Issues
Sometimes, the problem is simpler than we imagine. Check your power outlet. If you have a Keurig single serve coffee maker not working after a power surge or a storm, the internal fuse might have tripped. Always ensure the plug is pushed firmly into the wall outlet. Avoid using power strips or heavy-duty extension cords, as these can interfere with the machine’s voltage requirements.
The “Needle” Problem
If you see your machine attempting to brew but only a few drops come out, your exit needle is likely clogged. This needle pierces the bottom of your K-Cup. Over time, coffee grounds can accumulate there. This is a very common issue in 2026, especially if you use third-party pods that might not be perfectly compatible with your specific model’s needle alignment.
Troubleshooting Water Flow and Clogging
Water flow issues are the most frequent reason for a Keurig single serve coffee maker not working. When water cannot travel through the internal tubing, the machine will often shut itself down to prevent the pump from burning out. Let’s look at how to clear these blockages.
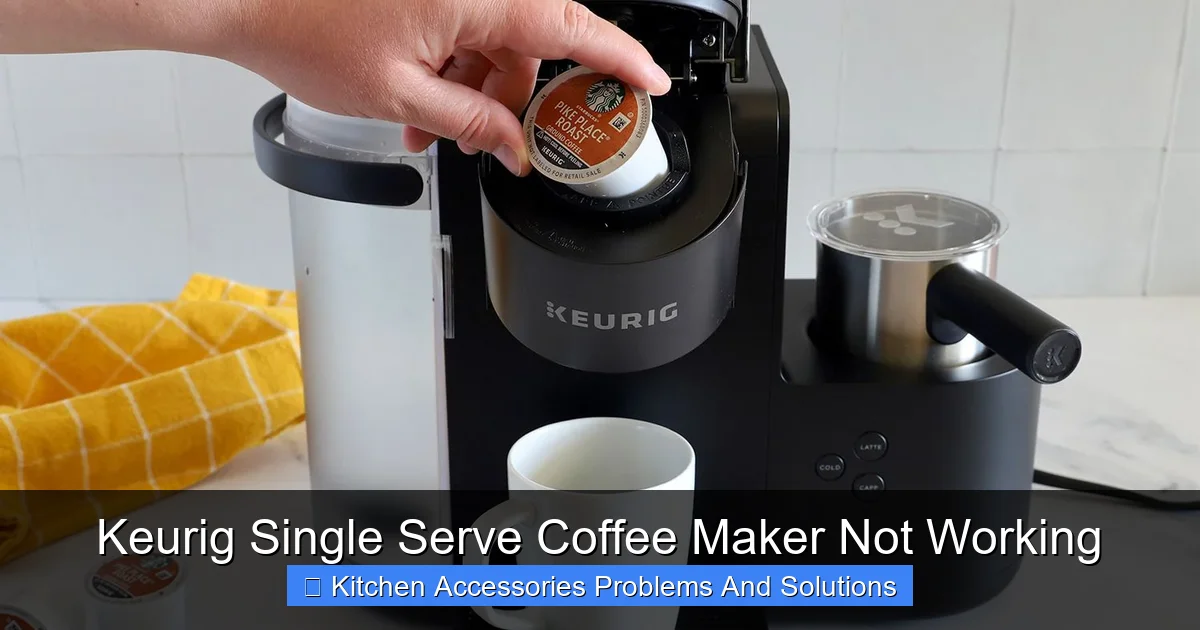
Visual guide about Keurig Single Serve Coffee Maker Not Working
Image source: seriouseats.com
Cleaning the Entrance and Exit Needles
To clean the exit needle, you can use a clean, straightened paper clip. Gently insert the wire into the exit needle opening on the underside of the pod holder. Carefully move it around to loosen any coffee grounds.
If you have a Keurig with a removable pod holder, take it out and rinse it under warm water. For the entrance needle (the one at the top), do the same process, but be careful of the sharp edges. Once cleared, run a brew cycle with only water to flush out the debris.
Addressing Air Locks
Sometimes, air gets trapped in the internal plumbing, causing your Keurig single serve coffee maker not working properly. To fix this, you can try “burping” the machine. If your reservoir is removable, take it off, re-seat it firmly, and gently shake the base of the unit to release trapped air bubbles. Some users find that lifting the reservoir slightly while the machine is attempting to draw water helps initiate the suction process.
The Essential Role of Descaling
Mineral buildup is the silent killer of coffee makers. If you live in an area with hard water, calcium deposits will build up inside the heating element and the tubes. This restricts water flow and changes the temperature of your brew. If you notice your Keurig single serve coffee maker not working at full strength, it is almost certainly time to descale.
How to Descale Effectively
In 2026, most Keurigs have a “Descale” light. When it turns on, do not ignore it. Use a Keurig-approved descaling solution or a mixture of white vinegar and water. Fill the reservoir with the solution and run the largest cup size repeatedly until the reservoir is empty. Let the machine sit for 30 minutes, then perform several freshwater cycles to remove any remaining vinegar taste. This simple process can save your machine from permanent pump failure.
Preventing Future Build-up
To keep your machine running smoothly, stop using tap water. Switch to filtered water or bottled spring water. The lower mineral content will drastically slow down the scale accumulation, meaning you will have to descale much less often. It also makes your coffee taste significantly better, as chlorine and other additives in tap water can ruin the flavor profile of your favorite roast.
Handling Sensor and Error Light Issues
Modern Keurig brewers are packed with sensors. They detect when the reservoir is empty, when the lid is open, or when the water is too hot. If your Keurig single serve coffee maker not working due to a sensor error, the machine might think something is wrong when, in reality, it is perfectly fine.
The “Add Water” Glitch
Have you ever seen the “Add Water” light flashing even when the tank is full? This usually happens because the magnetic float in the reservoir is stuck. Take the water reservoir off and look for a small plastic piece inside or near the tank. Give it a gentle tap or use a clean toothbrush to dislodge any scale that might be holding it in place. Once the float can move freely, the sensor will detect the water level again.
Resetting the Machine
If you have tried everything and the machine still acts up, perform a factory reset. Turn the machine off and unplug it from the wall. Let it sit for at least 30 to 60 minutes. This allows the internal capacitors to drain completely. When you plug it back in, the software will reboot. Many minor electronic glitches are solved by this simple power cycle.
Common Pod Compatibility Problems
Sometimes the machine is fine, but the pods are the culprit. In 2026, there are thousands of off-brand K-Cup options. Some of these pods have foil lids that are too thick or plastic edges that are too rigid for the Keurig needles to pierce properly.
Tips for Better Brewing
If you find your Keurig single serve coffee maker not working with a specific brand of pod, try switching back to an official Keurig pod to see if the problem persists. If the machine works fine with the original brand, you know the issue is pod-related. Also, ensure you are placing the pod in the center of the holder. If the pod is crooked, the needles won’t align correctly, and you will get a messy, incomplete brew.
Using Reusable Filters
Many people use reusable mesh filters to save money and reduce waste. These are great, but they require extra care. Ensure the mesh is not clogged with old grounds. If the mesh is blocked, the water will back up, and you might see the machine stop mid-brew. Rinse these filters thoroughly after every use and inspect them for cracks or tears.
When to Seek Professional Help or Replace?
If you have cleaned the needles, descaled the unit, reset the power, and verified your water levels, yet you still have a Keurig single serve coffee maker not working, you might be dealing with a mechanical failure. Internal pump motors do wear out over time, especially after several years of daily use.
Warranty and Support
Always check your warranty status before tossing a broken machine. Keurig provides excellent customer support for their current 2026 models. Have your serial number ready—you can usually find it on the back or bottom of the unit. A quick call to their support line might lead to a replacement if your unit is still under coverage.
Recycling Your Old Keurig
If your machine is truly done, don’t just throw it in the trash. Electronic waste contains components that should be recycled properly. Many community recycling centers accept small kitchen appliances. By disposing of your unit responsibly, you are doing your part for the environment while you go out and find your next perfect coffee maker.
Ultimately, a little maintenance goes a long way. Treat your Keurig with care, descale it regularly, and keep the needles clean. By following these simple steps, you will spend much less time worrying about your Keurig single serve coffee maker not working and much more time enjoying that perfect cup of morning coffee. Happy brewing!
Frequently Asked Questions
Why is my Keurig saying “Add Water” even when the tank is full?
This usually happens because the magnetic float sensor in the water reservoir is stuck due to mineral buildup. Try cleaning the reservoir with a soft brush and moving the float gently to ensure it can slide up and down freely.
How often should I descale my coffee maker?
In 2026, most manufacturers recommend descaling every 3 to 6 months depending on your local water hardness. If you notice the brewing speed slowing down, descale it immediately, regardless of the time since your last cleaning.
Can I use white vinegar to descale my machine?
Yes, white vinegar is an effective and inexpensive natural descaling agent. However, ensure you rinse the machine thoroughly with plain water afterwards to eliminate any lingering vinegar smell or taste.
What should I do if my Keurig won’t turn on at all?
Check the power connection first and ensure the outlet is functional by plugging in another device. If it remains dead, try unplugging it for an hour to reset the internal circuitry; if it still fails to start, the internal fuse may be blown.
Why does my coffee taste weak or watery?
This is often caused by a clog in the needle or the need for a descaling. When water cannot flow properly, it may bypass the coffee grounds or brew at the wrong temperature, resulting in a thin, watery flavor.
Are third-party pods bad for my machine?
Not necessarily, but some lower-quality pods have plastic edges or foil lids that are difficult for the needles to pierce. If you experience frequent clogging, try sticking to official pods for a few cycles to see if the performance improves.